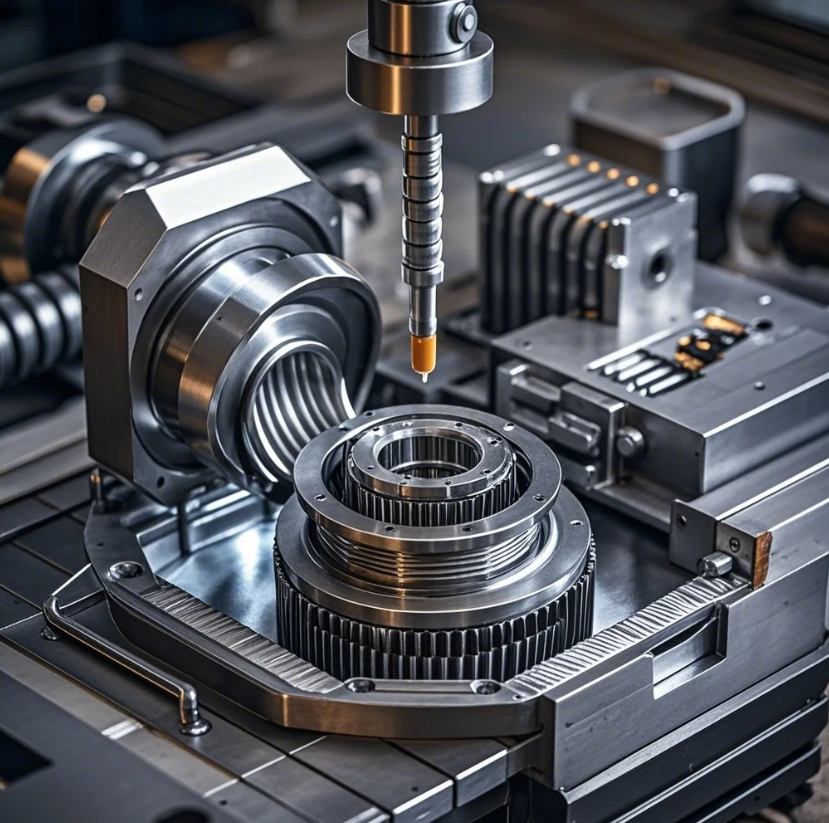
How to Make a Mold of an Object?
Mold-making is a crucial skill in many industries, especially in manufacturing, where precision and quality matter most. It allows for the mass production of identical items, reducing time and labor costs. Whether you're creating a simple object or a complex 3D model, understanding the right techniques and tools can make all the difference in ensuring the success of your mold-making project.
Mold-making is essential in many industries for producing parts and products efficiently. Let's explore how to make a mold effectively.
Knowing the process can save time and ensure high-quality results. Read on for a detailed guide.
How do you make a mold of an object?
Making a mold is not just about covering an object with a mold-making material. It's a process that requires preparation, accuracy, and the correct choice of materials to ensure the final result is functional and high-quality. Here’s how you can make a mold of an object:
1. Prepare the Object
Before you start making the mold, the first step is preparing the object. This includes cleaning it thoroughly to remove any dust, dirt, grease, or any other substances that could interfere with the mold-making process. If you're working with a particularly delicate or porous object, you may want to apply a release agent. This prevents the mold material from sticking to your object, ensuring easy removal later on.
2. Choose the Material for the Mold
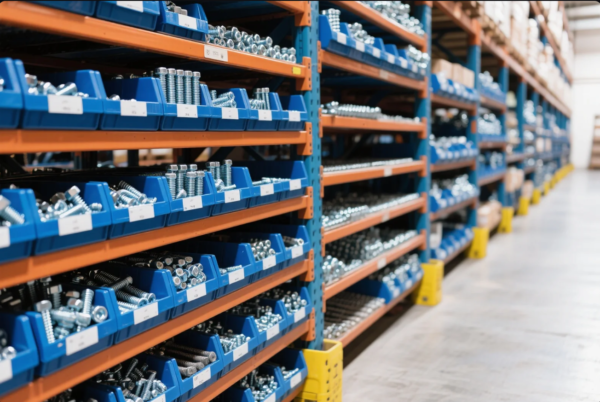
Selecting the right material for your mold is crucial. Silicone, plaster, and alginate are the most commonly used materials. Silicone rubber is great for detailed and flexible molds, making it ideal for complex objects with intricate shapes. Plaster of Paris is typically used for rigid molds, and it is often the material of choice for casting metal. Alginate is excellent for making body molds, especially for life-casting, due to its fast-setting nature.
3. Create the Mold Container
The mold container is the structure that holds the mold-making material. It should be slightly larger than the object to provide adequate space for the mold material to surround the object completely. You can create a mold box from various materials, including wood, plastic, or metal, depending on the size and shape of the object you're molding.
4. Pour the Mold Material
Once you have your mold container, it's time to mix and pour the mold material over the object. Start by slowly pouring the material, ensuring it covers the object evenly. Take care to avoid trapping air bubbles in the mold, as they can affect the mold's quality. You can tap the sides of the mold box gently to release trapped air.
5. Allow the Mold to Set
The curing time for the mold material varies depending on the type of material used. Silicone molds may set in a few hours, while plaster molds can take a day or more. Once the material has hardened, you can carefully remove the object from the mold. If you're working with a complex object, you may need to cut the mold to remove the original object without damaging the mold itself.
6. Remove the Object
Carefully remove the object from the mold, ensuring that you do not damage the newly formed mold. If you used a release agent, this process should be straightforward. If there are any rough edges or imperfections, you can trim them with a sharp tool or sandpaper.
Snippet paragraph: To make a mold of an object, prepare your object, select mold material, and create a container to pour the material into.
What can you use to make a mold of something?

Choosing the right material is essential to the success of your mold-making process. Different materials are suited for different types of objects, mold detail, and use cases. Let’s explore some of the best options for making molds.
1. Silicone Rubber
Silicone rubber is one of the most popular mold-making materials due to its flexibility and durability. It’s perfect for objects with intricate details and is commonly used in both small-scale projects and industrial manufacturing. Silicone molds are ideal for casting materials like resins, wax, and even concrete. They’re known for their ability to capture even the finest details without distorting the object.
2. Plaster of Paris
Plaster of Paris is another popular option, particularly for creating rigid molds. It’s affordable and easy to work with, making it a great choice for beginners. However, plaster molds are less flexible than silicone, which can make the removal of certain objects more difficult. It’s often used for casting metals, glass, and even for plaster reproductions of art and sculptures.
3. Latex Rubber
Latex rubber is another material that’s used to create flexible molds. It’s more affordable than silicone but is less durable. Latex molds are great for casting materials like resin and wax, but they can be more prone to tearing over time. Latex rubber is especially useful for projects where high flexibility is needed but where you don’t mind replacing the mold after several uses.
4. Alginate
If you need to make a mold of an object quickly, alginate is an excellent choice. Alginate is a fast-setting material, perfect for capturing body parts like hands or faces. The material is typically used for life-casting and is an excellent option for one-time use molds, as it’s not as durable as silicone or plaster but cures quickly.
| Material | Use Case | Advantages | Disadvantages |
|---|---|---|---|
| Silicone Rubber | Flexible, detailed molds | High durability, excellent detail retention | Expensive, can require more preparation |
| Plaster of Paris | Rigid, simple molds | Cost-effective, easy to use | Breaks easily, not flexible |
| Latex Rubber | Flexible, medium detail molds | Affordable, flexible | Less durable than silicone |
| Alginate | Quick-setting, body part molds | Fast setting, easy to use | Not durable, best for short-term molds |
Snippet paragraph: Various materials like silicone, plaster, and latex can be used to create molds depending on flexibility and detail needs.
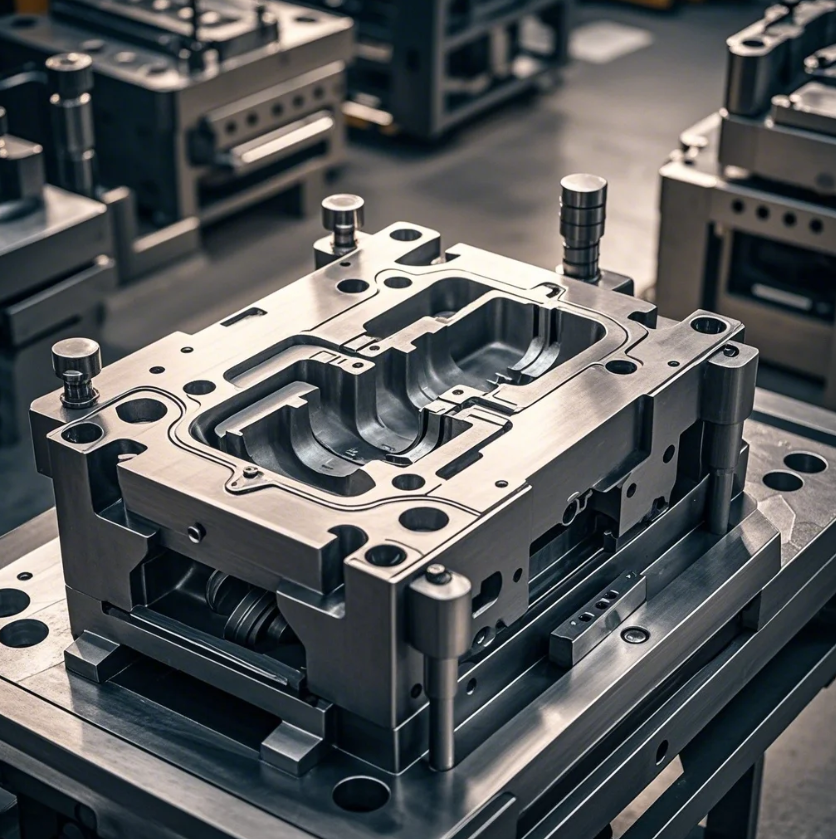
How to make a mold of a 3D object?
Mold-making for 3D objects can be more challenging due to their complex shapes. Whether you're trying to create a mold of a sculpture, a mechanical part, or any 3D object, the process requires careful attention to detail. Here’s how to create a mold of a 3D object:
1. Prepare the Object
Ensure the 3D object is thoroughly clean and free from any debris that could affect the mold-making process. Apply a release agent if the material you’re using requires one. For highly detailed 3D objects, this step is especially important.
2. Build the Mold Box
Construct a mold box around the 3D object. The mold box should be large enough to accommodate the object, leaving some extra space on all sides. The material of the mold box can vary but should be sturdy enough to hold the mold material while it cures.
3. Mix and Apply the Mold Material
Prepare your mold material according to the manufacturer’s instructions. Slowly pour the mold material over the object, ensuring it covers the entire surface and reaches all the intricate details. To avoid air bubbles, you can tap the sides of the box gently, or use a vacuum chamber if available.
4. Allow to Set
Let the mold material cure for the required amount of time. The curing time will depend on the material used, such as silicone or plaster. After the mold has fully set, carefully remove the original object. You may need to carefully cut the mold to remove the object if it is too complex.
5. Finish the Mold
Once the object is removed, inspect the mold for any imperfections, air bubbles, or rough edges. Use a sharp tool to trim excess material or smooth out rough areas. Depending on the complexity, you may also need to add venting holes or other modifications for casting materials.
Snippet paragraph: For a 3D object mold, make a mold box, pour the material, and let it set. A detailed approach ensures the mold’s accuracy.
How to make something mold quickly?

If you are under a tight deadline or need a mold in a hurry, there are several strategies to speed up the mold-making process. Here are some tips to help you make a mold quickly without compromising quality:
1. Use Fast-Setting Materials
Materials like fast-setting silicone rubber or alginate cure much quicker than traditional mold-making materials. For example, alginate can set in minutes, while fast-setting silicone can take as little as one hour. These materials are excellent for projects that need to be completed on a tight timeline.
2. Keep the Mold Thin
The thicker the mold, the longer it takes to cure. If you are making a mold in a hurry, keep the mold thin and focus on only the essential parts of the object. This will reduce the time it takes for the mold to set.
3. Use a Mold Accelerator
Some mold materials come with accelerators that can speed up the curing process. However, be careful when using accelerators as they can sometimes affect the material’s properties or result in a lower-quality mold.
4. Increase Temperature
If the mold material you are using can handle heat, increasing the temperature can significantly speed up the curing process. However, make sure the temperature is not too high, as it could distort the mold material or the original object.
| Tip | Benefit | Considerations |
|---|---|---|
| Use fast-setting materials | Cures quickly without compromising quality | Ensure material choice fits your project |
| Minimize mold thickness | Faster curing and less material used | May reduce durability in some cases |
| Use a mold accelerator | Speeds up curing time | Use carefully to avoid compromising quality |
| Increase temperature | Cures faster in warm environments | Too high a temperature can affect the mold |
Snippet paragraph: Speed up mold-making with fast-setting materials, thin molds, and temperature management.
Conclusion
Making a mold is a meticulous process, but by selecting the right materials, planning carefully, and following the proper steps, you can create high-quality molds quickly and efficiently. Whether you need a flexible, durable mold or a fast solution, understanding the basics of mold-making is key to success. When you’re ready to start your project, don’t hesitate to reach out to experienced suppliers who can guide you with professional advice, quality materials, and rapid delivery.