How to attach snap fasteners?
Snap fasteners are convenient—but if they’re misaligned or loose, they’ll fail quickly.
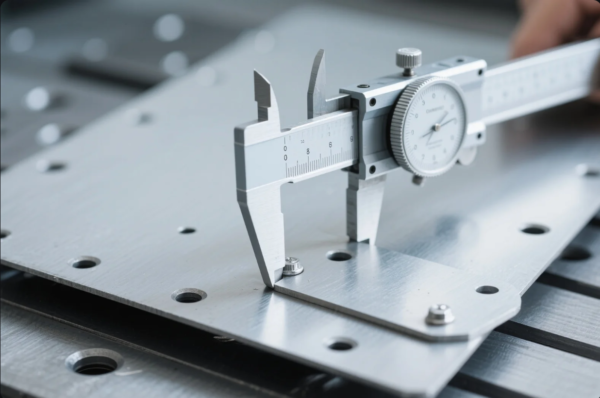
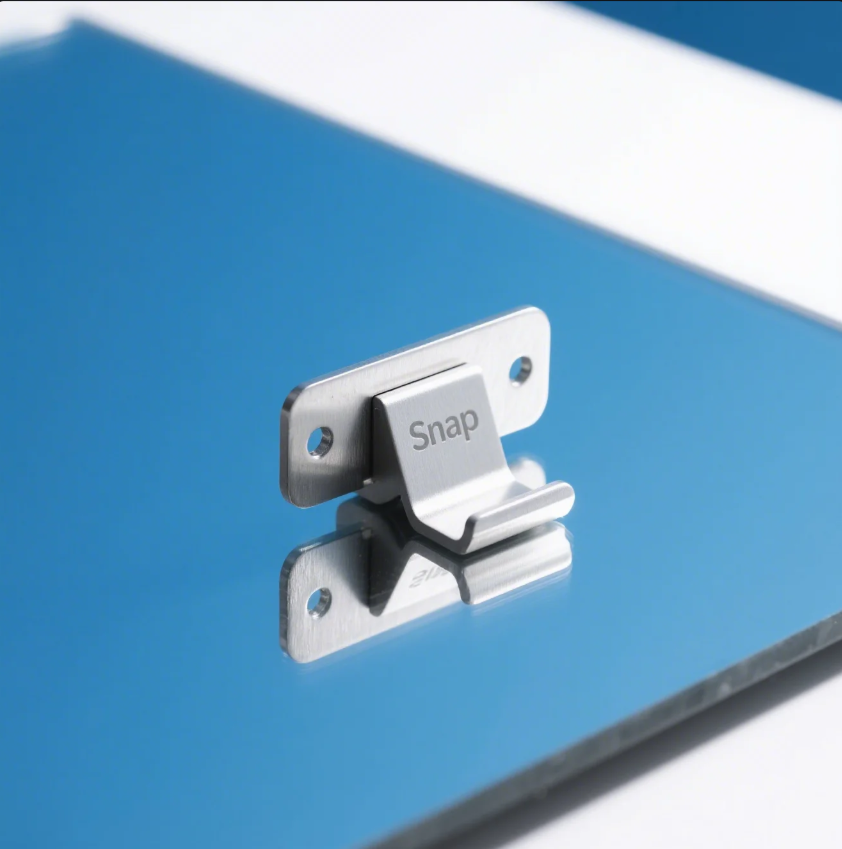
To attach snap fasteners, punch a hole in your material, align the snap components (cap, socket, stud, and post), and secure them using a snap tool or press.
At Prime, we attach snap fasteners to tool covers, removable panels, and modular sheet metal parts to make assembly and maintenance faster and safer.
What are the steps in attaching a fastener?
Even one wrong step can cause the snap to pop off after use.
The steps are: (1) punch a hole, (2) align components, (3) press the cap and socket together, (4) align and secure the post and stud.
At Prime, we follow this method for precision fastener installs on metal-backed flexible parts and composite sheets.
Snap Fastener Installation Steps
| Step | Description |
|---|---|
| 1. Mark and punch hole | Use snap punch or punch pliers |
| 2. Assemble socket | Cap goes on top, socket underneath |
| 3. Press socket set | Use hand press or hammer tool |
| 4. Assemble stud | Stud faces up, post on reverse side |
| 5. Secure stud set | Apply firm, even pressure |
Always test-fit one snap on scrap before final installation.
How to attach plastic snap fasteners?
Plastic snaps need lighter force—but they also need precision.
To attach plastic snap fasteners, use a hand press or snap pliers designed for plastic snaps. Align cap and socket, then stud and post, and press firmly.
At Prime, we use plastic snaps for lightweight protective sleeves, cable wraps, and vinyl-backed components.
Tips for Installing Plastic Snaps
| Component Pair | Use |
|---|---|
| Cap + Socket | Front-facing top connection |
| Stud + Post | Underside anchor |
| Snap Pliers | Avoids cracking plastic |
Avoid hammering plastic snaps—they can crack or deform without warning.
How to put the snap?

Putting on a snap may seem simple, but misalignment causes failure.
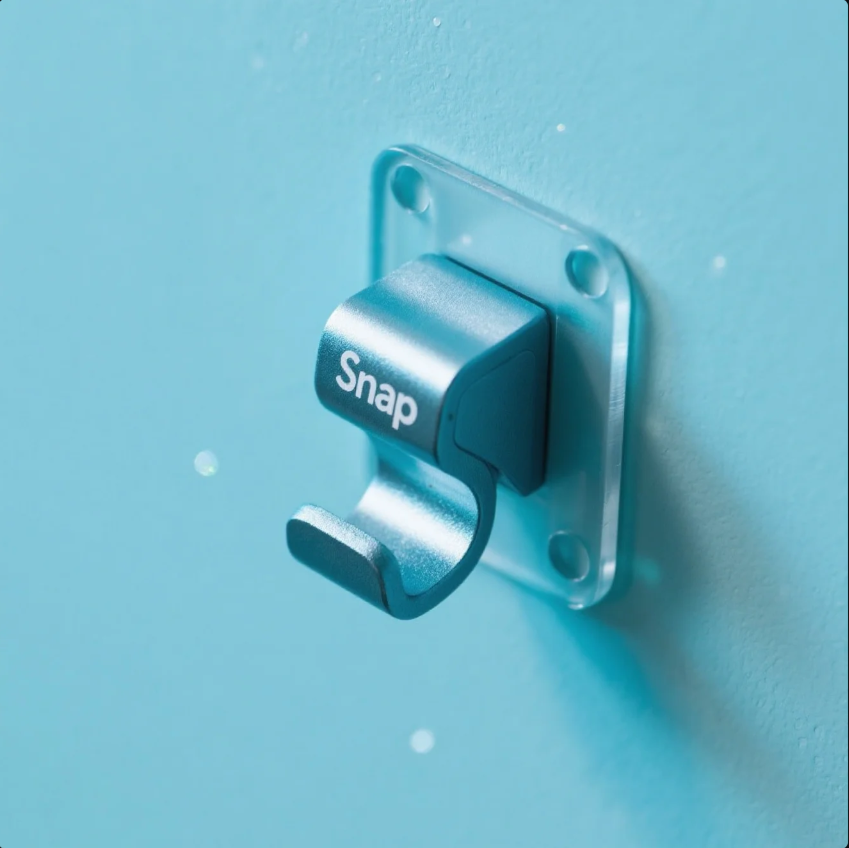
To put on a snap, align the snap halves properly, center them on the punched hole, and apply pressure using a snap tool or press.
At Prime, we take extra care with custom-finished sheet metal panels or fabric-metal hybrids, where snap misalignment affects product appearance and performance.
Quick Snap Placement Guide
| Tool Required | Purpose |
|---|---|
| Hole Punch | Creates clean snap hole |
| Snap Setter Tool | Applies balanced pressure |
| Alignment Jig (optional) | Helps center the snap pair |
Correct positioning ensures long-term use without slipping or pullout.
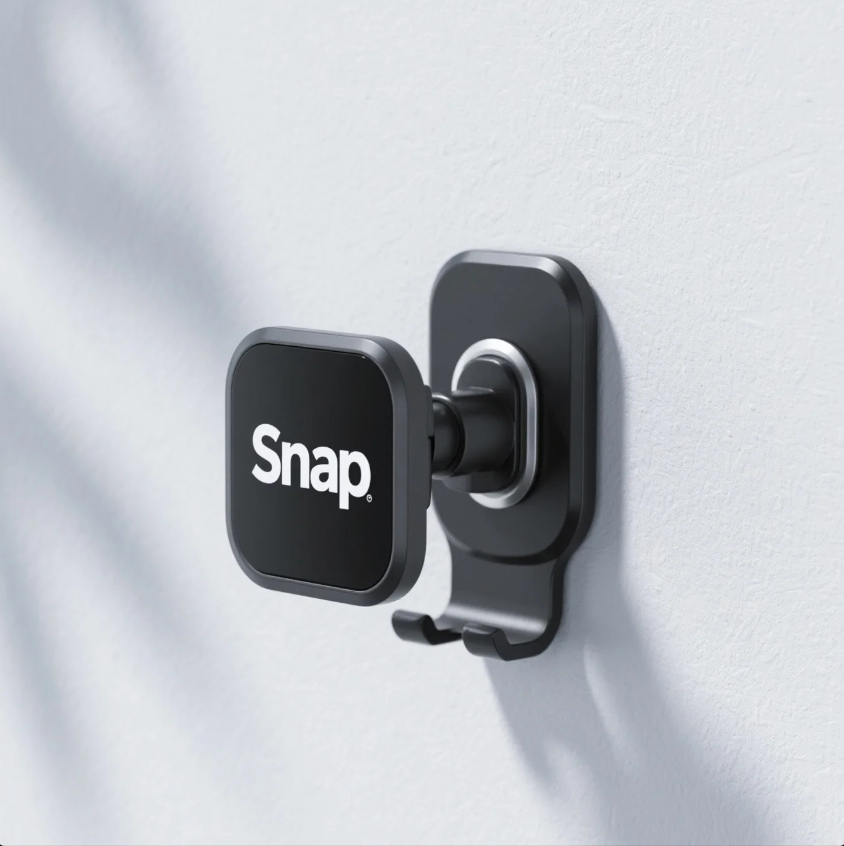
Button clips serve as tool-free locks—but only if installed securely.
To attach a button clip (like a snap or press stud), punch a hole, align the parts, and use a clip setter or snap tool to compress and lock them.
At Prime, we use button clips on quick-access sheet metal covers, inspection ports, and foldable trays that require frequent opening and closing.
Attaching a Button Clip
| Step | Tool or Action |
|---|---|
| Punch Hole | Clean cut, sized to button stem |
| Insert Clip Base | Bottom section fits under sheet |
| Position Cap/Button | Top section sits on surface |
| Press or Crimp | Lock components with pressure |
Test the clip after installation—if it’s loose, re-crimp or replace the base post.
Conclusion
To attach snap fasteners, punch a hole, align the components, and press them together firmly using the right tool for the material.
Need parts delivered with snap fasteners pre-installed? Prime offers precision hole punching, snap press tooling, and ISO-certified assembly—ready for your next production or prototype run. Contact us today for a detailed quote.