Progressive Die Design: Boosting Efficiency in Metal Stamping?
What is a progressive die? Step-by-step process explained
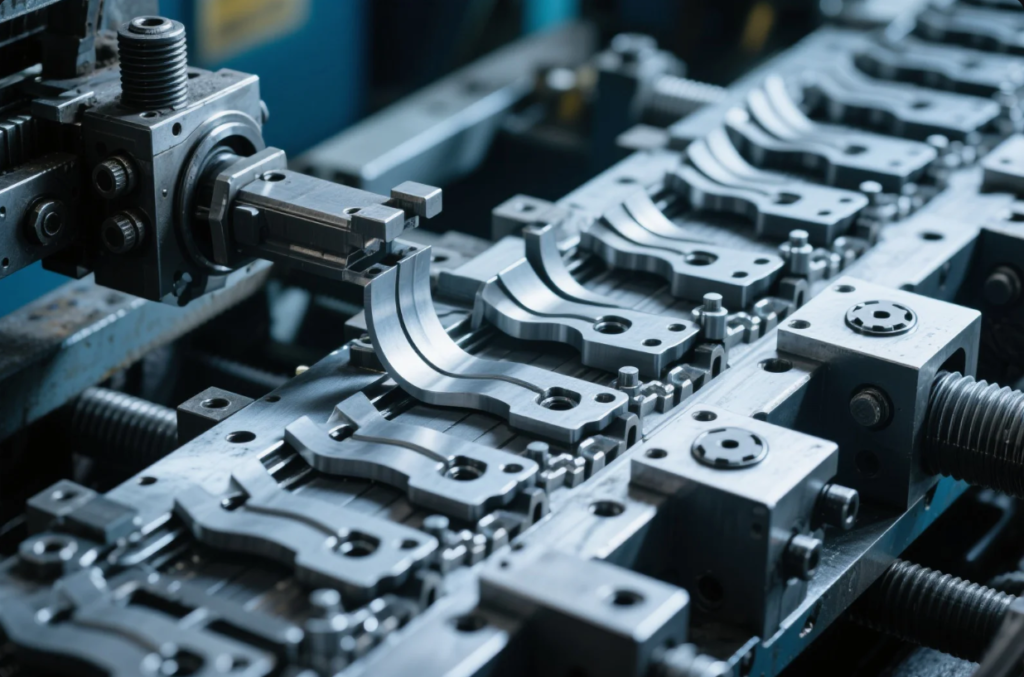
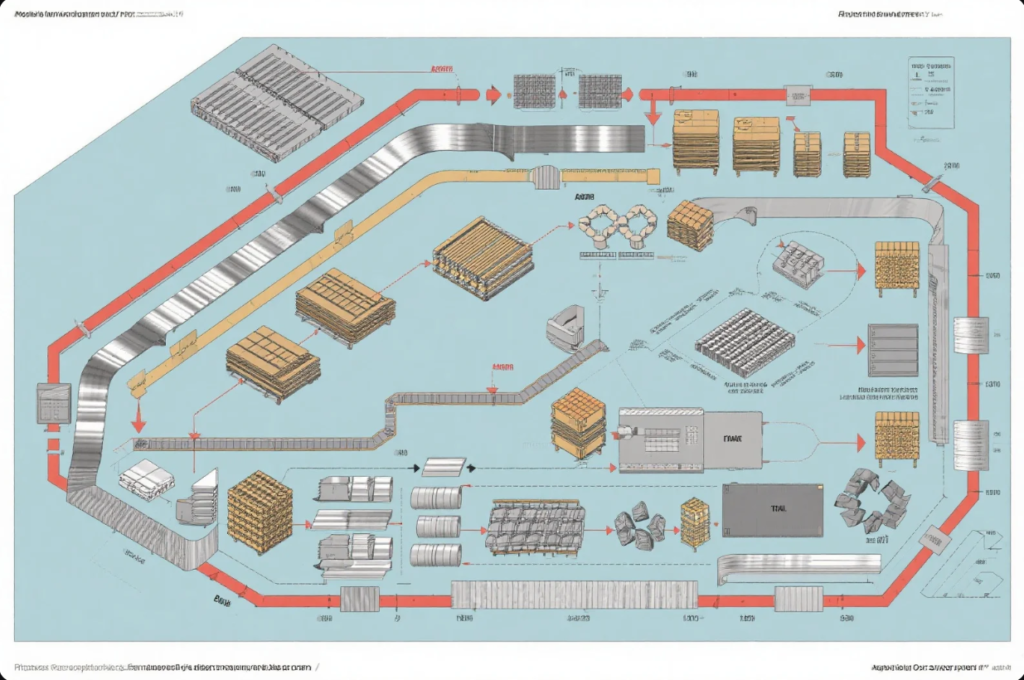
A progressive die performs multiple operations along a strip of metal in one stroke. Each station forms, punches, bends, or trims. This results in near-finished parts at the end of the strip—ideal for high-volume efficiency. This differs from B‑punch or stage dies, used when operations are fewer or more complex.
Process Stages:
- Feeding raw coil into die—precision feed control
- Piercing for holes and shapes
- Forming bends, embossing, drawing
- Trimming to final shape
- Part ejection
Using Sandvik strip layout guidelines and Lane Press Engineering tools helps optimize trade-offs in strip progression and middle-station indexing.
Progressive vs. compound and stage dies: Which to choose
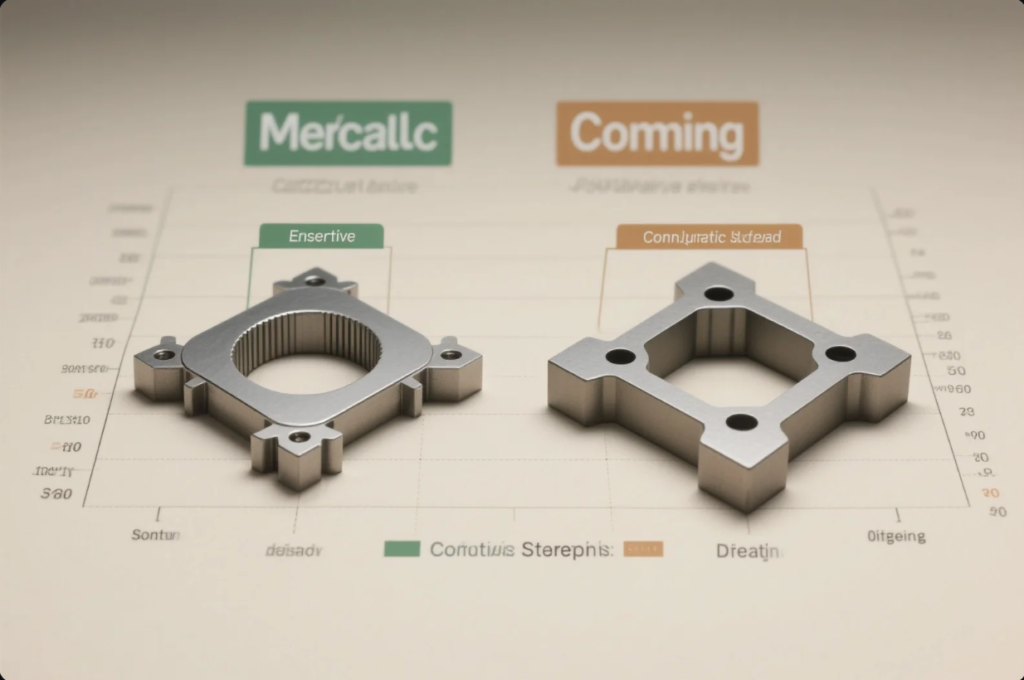
| Die Type | Progressive | Compound | Stage (Transfer) |
|---|---|---|---|
| Punch Count | Multiple stations | Single stroke multiple ops | One op per stroke |
| Part Complexity | High complexity possible | Simple cut/pierce only | Very high complexity |
| Tonnage Needs | Moderate | Lower than progressive | Higher tonnage |
| Ideal Run Volume | 10k+ pcs | <5k pcs with simple form | Complex parts, low–mid vol |
Choose Progressive when you need product consistency, high throughput, and minimal secondary work. Visit FabTech Network for case studies.
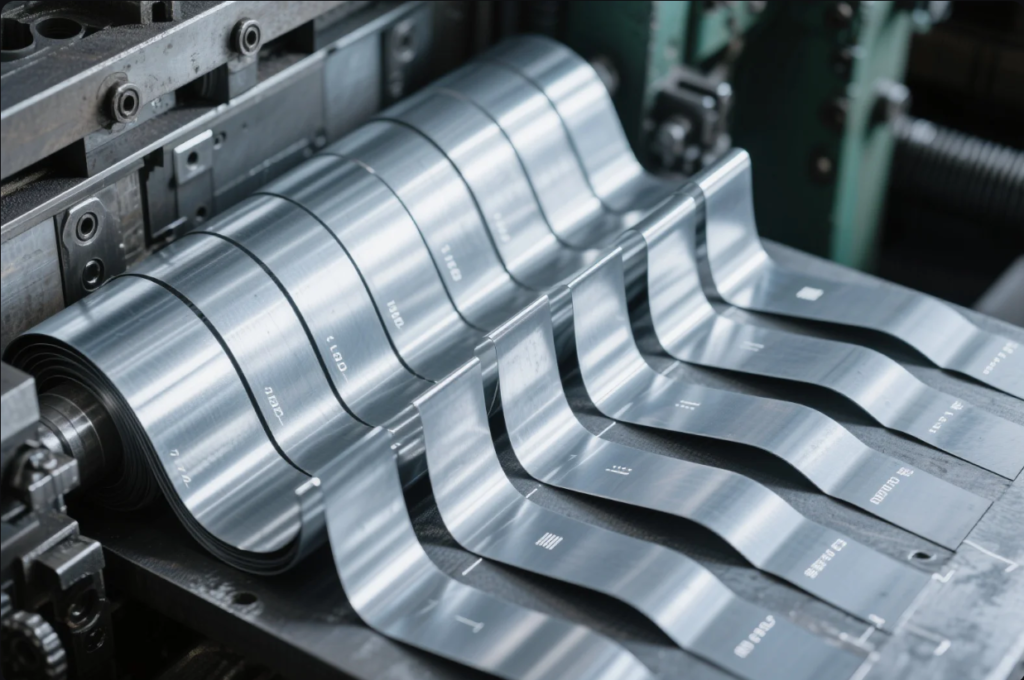
How die layout affects stamping line productivity
Efficient layout reduces scrap, increases uptime, and limits downtime for tool changeover. Key factors include:
- Strip width and coil packing density—minimize waste based on coil specs from US Steel
- Station sequence—simple first, complex forms later
- Pilot pin design and hole alignment—ensures production accuracy
- Maintenance access—quick-change inserts and sensors for stoppage alerts
Smart designs use in-die sensors from Temco Motion Control to detect jam or misfeeds, optimizing routine maintenance.
Cost-saving tips in strip layout and die design
- Material-saving strip layouts—Reference Muratec’s strip nesting
- Use standardized inserts for wear points—less downtime
- Plan future updates—include add-on stations in initial design
- Use hybrid tool materials—tool steel + PVD coatings from Seco Tools
- Condition monitoring—install acoustic/vibration sensors like SKF DataCollect for proactive service
Prime’s tool designs reduce scrap by 18% on typical coil sizes and minimize downtime by 12%, boosting the OEE (Overall Equipment Effectiveness).
FAQs
Q: What annual production justifies a progressive die?
A: Yearly volume over 10,000 parts often justifies setup cost.
Q: Can progressive dies form draw shapes?
A: Yes—with deep form add-on stations, similar to deep draw dies.
Q: How long does a tool last?
A: With proper coatings and maintenance, progressive dies run 1–3M strokes.
Q: Does Prime support die refurbishment?
A: Yes—Prime offers regrind, retooling, and insert replacement services.
Q: Can I see strip layout early?
A: Definitely. Prime delivers CAD strip preview before production start.
Conclusion
Progressive dies drive high efficiency in metal stamping by combining multiple operations in one strip. With proper layout, material feed, and maintenance strategy, you can reduce cost per part and improve throughput.
Contact Prime
Need a custom progressive die?
- Free strip layout review
- In-die sensor design and maintenance plan
- ISO-certified tool build
- Global shipping packed for safety
📩 Email: [email protected]
🌐 Website: https://primecustomparts.com