How to Avoid Common Defects in Metal Forged Parts? A Practical Guide
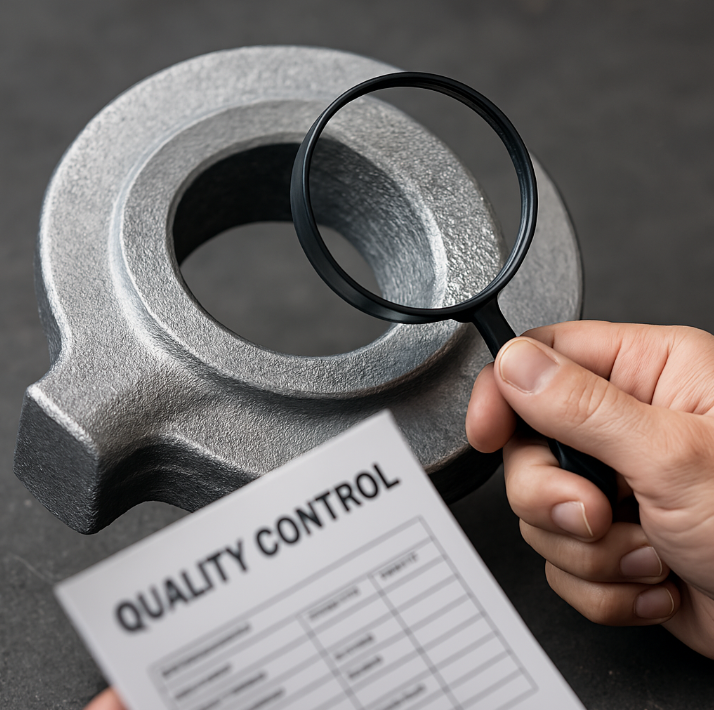
Defective forged parts cost manufacturers millions in recalls, rework, and reputational damage—yet most flaws are preventable with the right process controls.
Common forging defects—cracks, laps, cold shuts, and porosity—often stem from poor die design, incorrect material prep, or improper temperature control, but rigorous QA checks and optimized forging parameters can eliminate 90% of these issues.
At Prime Manufacturing, we’ve refined our forging process over 30+ years to deliver near-zero-defect parts. Here’s how to avoid the most costly mistakes.
1. Cracks & Fractures: Why Do They Happen and How to Prevent Them?
Root Causes of Cracking in Forged Parts
| Cause | Prevention Method |
|---|---|
| Overheating | Strictly monitor furnace temps (±10°C tolerance) |
| Fast Cooling | Use controlled cooling (e.g., furnace slow-cooling) |
| Impurities in Material | Only use certified billets with mill test reports |
✅ Best Practice: Pre-heat dies to 150-200°C to prevent thermal shock cracks during forging.
2. Laps & Folds: How Incorrect Die Design Causes Flaws?
Die Design Fixes to Avoid Lapping Defects
🔹 Optimal Draft Angles (3-5° for aluminum, 5-7° for steel)
🔹 Proper Corner Radii (sharp edges trap material, causing folds)
🔹 Balanced Flash Thickness (Too thin = incomplete filling; too thick = excess trimming)
📌 Industry Case: A truck axle supplier reduced lap defects by 70% just by increasing die corner radii from 2mm to 5mm.
3. Cold Shuts: Why Temperature Control is Non-Negotiable?
Critical Forging Temperature Ranges
| Material | Optimal Forging Temp (°C) | Danger Zone (Too Cold) |
|---|---|---|
| Carbon Steel | 1150-1250 | Below 900 |
| Aluminum | 350-470 | Below 300 |
| Titanium | 900-950 | Below 800 |
🔥 Pro Tip: Use infrared thermometers to verify billet temperature right before forging.
4. Porosity & Internal Voids: How Billet Quality Affects Forging Integrity?
Billet Testing Checklist
✔ Ultrasonic Testing (UT) for hidden voids
✔ Chemical Analysis for proper alloy composition
✔ Hot Forging First (Blocker Die) to close micro-pores
⚠ Red Flag: Cutting costs on raw material increases defect risks by 300%—never skip material certification.
5. Dimensional Inaccuracy: How to Ensure Forged Parts Meet Specs?
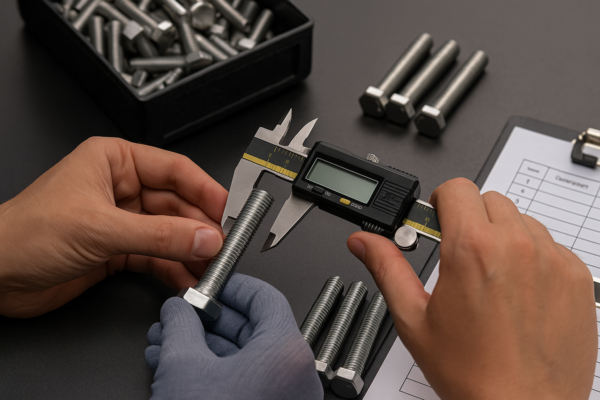
Post-Forging Inspection Protocols
| Check Method | Tolerance Standard | Tools Used |
|---|---|---|
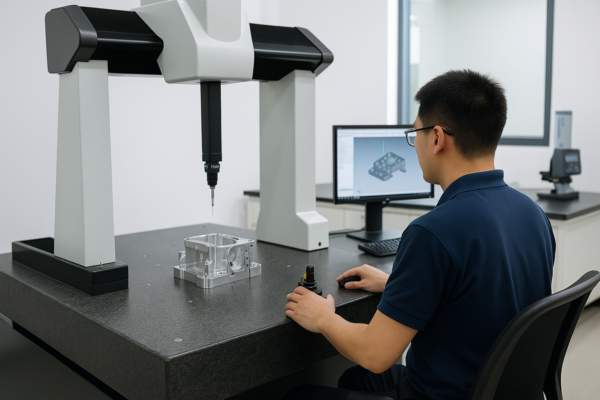
| CMM | ±0.05mm | Coordinate Measuring Machine |
| Laser Scan | ±0.1mm (Complex Shapes) | 3D Scanner |
| Hardness Test | HRC ±2 Points | Rockwell Tester |
📊 Data-Driven Solution: Implementing SPC (Statistical Process Control) reduces dimensional variations by 40%.
Conclusion:
Preventing forged part defects starts with material control, die design, and precise heating—then ends with rigorous inspections. The extra 5-10% cost in QA upfront saves 100x in recall costs later.
At Prime Manufacturing (ISO-certified since 1993), we eliminate defects at the source through real-time forging monitoring and 100% post-process checks. Need high-precision forged parts without headaches? 🛠️ Contact us today for guaranteed quality.
📌 Key Takeaways:
✔ Cracks = Monitor temperature & use certified billets
✔ Laps = Optimize die design (draft angles + radii)
✔ Cold shuts = Never forge below critical temp
✔ Porosity = Always UT-test billets first
✔ Dimensional errors = Use CMM & SPC controls

