How to Design Something to Be Laser Cut?

Laser cutting turns digital designs into real parts. But without the right prep, even the best machines can’t save a flawed file.
To design something for laser cutting, you must use vector files, manage kerf, test slot fit, and match materials to the process.
This complete guide combines Prime’s two decades of experience across over 40 countries to help you design like a pro.
How to design a file for laser cutting?
Laser machines follow vector paths—not pixels. Your file must be precise and clean.
| Format | Use Case | Notes |
|---|---|---|
| .DXF | Industrial sheet parts | Ideal for metal stamping |
| .SVG | Lightweight patterns or logos | Simple for web-to-laser platforms |
| .AI | Graphic + CAD hybrid | Best for multi-layer designs |
🎯 Key setup tips:
- Units: millimeters
- Colors: Red = cut, Black = engrave
- Stroke: Hairline (0.001 mm)
- Close all curves, no open paths
- Eliminate overlaps and duplicates
How to prepare artwork for laser cutting?
Art prep ensures that logos and visuals come out sharp and clean.
Artwork checklist:
- Convert all fonts to outlines
- Flatten groups or clipping masks
- Simplify curves to reduce cut time
- Use “Unite” in Pathfinder to merge complex shapes
This is especially important for laser-marked brand plates or serialized parts with text and logos.
🧰 Tool suggestion: Use Inkscape or Vectr for simple SVG prep.
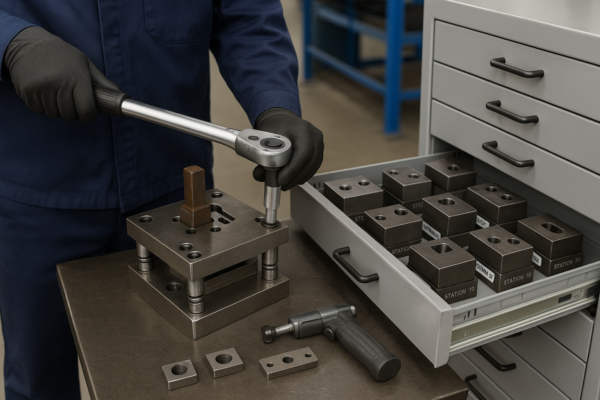
How to make a laser cut model?
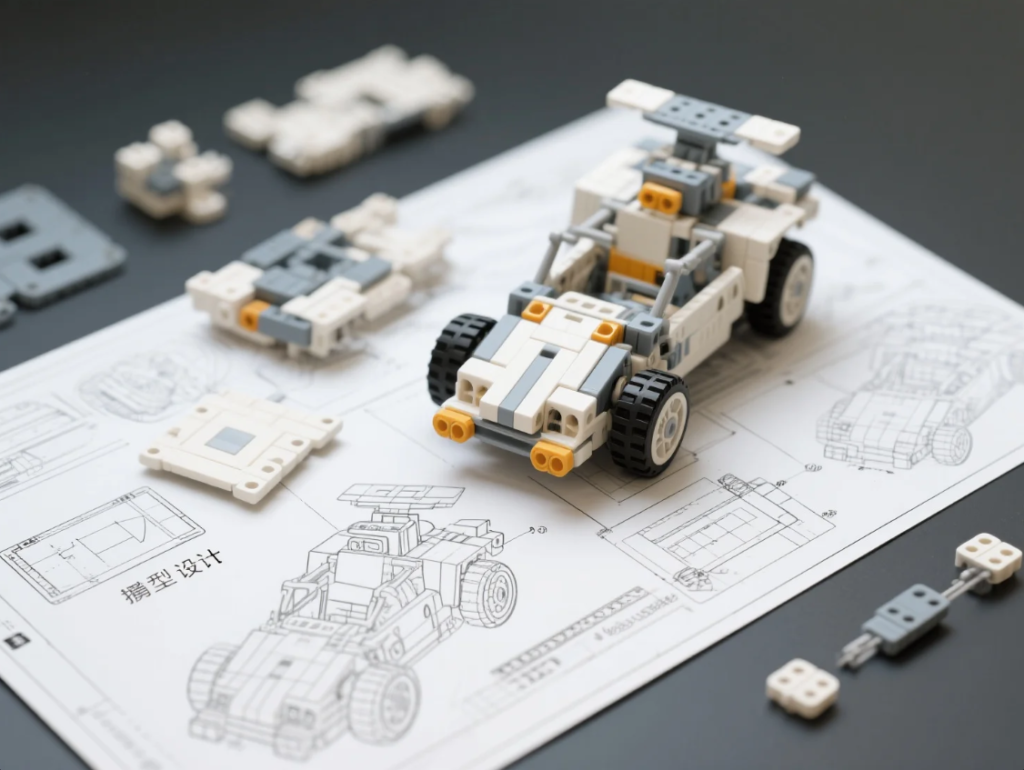
A well-designed laser-cut model uses flat parts to form sturdy 3D structures.
| Element | Function |
|---|---|
| Tabs & slots | Snap-fit assembly |
| Bridges | Prevent fragile dropouts |
| Kerf | Adjusts fit based on beam width |
| Label engraving | Aids in assembly sequence |
Use Fusion 360 or Rhino to unfold 3D forms into 2D outlines.
We test every interlocking MDF model before large-batch production. Want samples? Just ask.
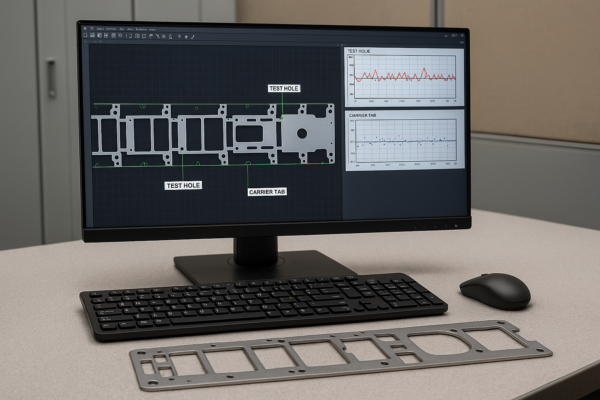
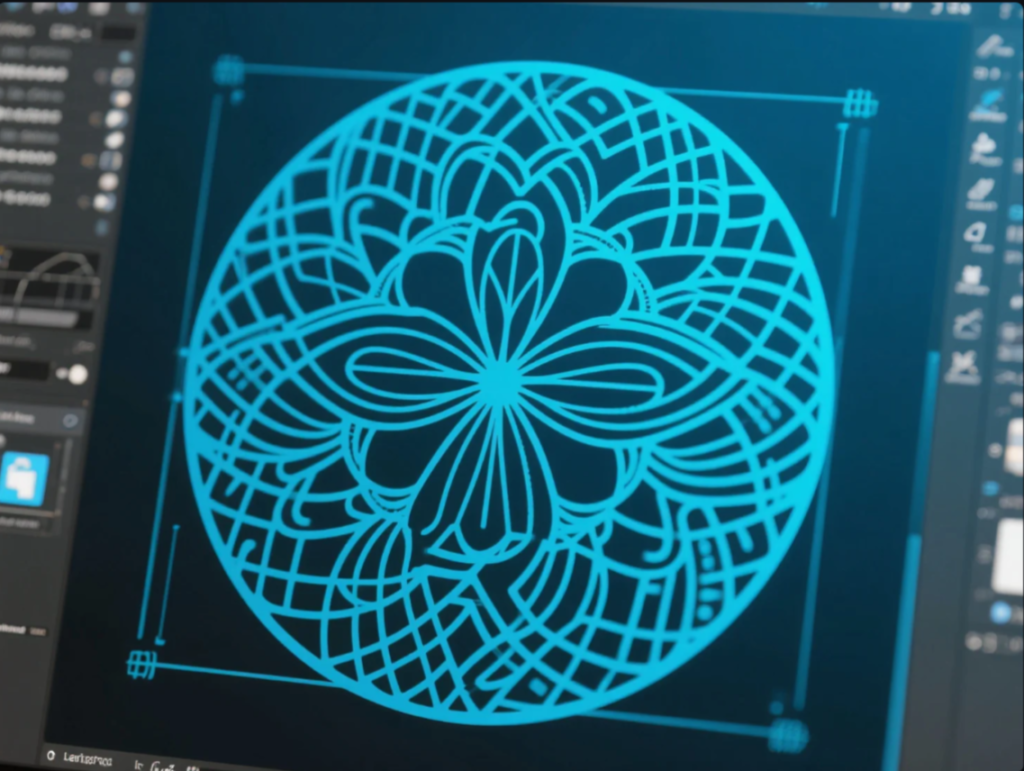
How to design images for laser engraving?
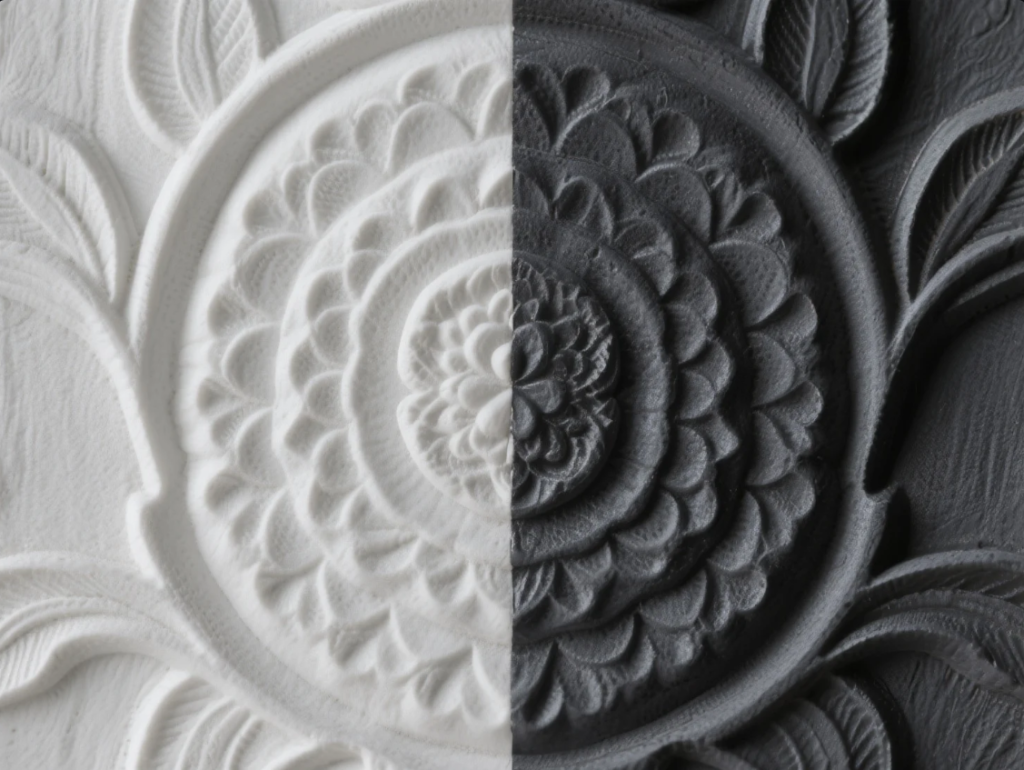
Engraving works by varying laser intensity per pixel or shade.
Setup for image engraving:
- Format: PNG or JPG, 300+ DPI
- Mode: Grayscale
- Contrast: High contrast for sharp results
- Dithering: Use Floyd–Steinberg for photos
Laser engraving is perfect for:
- Acrylic branding tags
- Wooden awards
- QR codes and panel labels
- Data plates and name tags
Try LightBurn for engraving prep or LaserGRBL for basic control.
Advanced tips for material-specific design
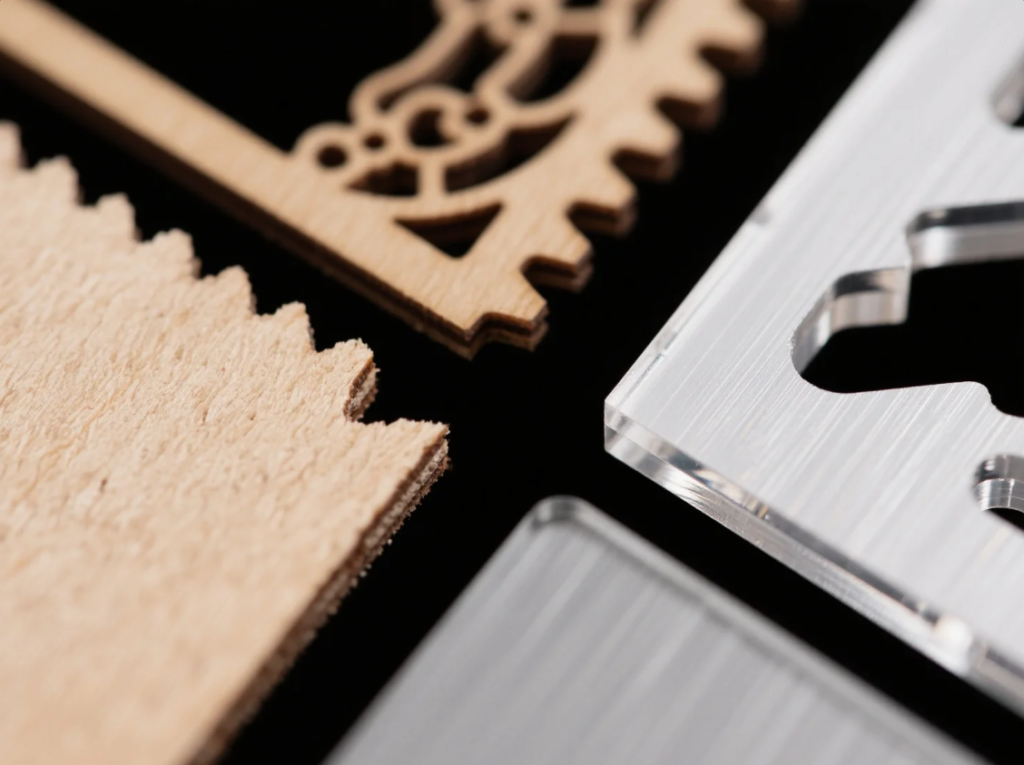
Each material has its own behavior under the laser.
Wood (MDF, plywood):
- Add 0.15–0.2mm kerf
- Avoid small holes < 1mm—they burn out
- Use finger joints for strength
Acrylic:
- Use protective tape to avoid flame marks
- Do not vector engrave near corners (may crack)
- Ideal thickness range: 2–6 mm
Metal:
- CO₂ lasers: only anodized aluminum or coated steel
- For steel/aluminum cutting, use fiber laser or CNC
- Use engraving paste for darker marks on bare aluminum
Check out Epilog’s laser material database for engraving depth and power references.
Bonus: Free tools & test files

Prime provides templates and support tools:
- Kerf test DXF – 1mm to 6mm material
- Tab & slot box maker
- Deepnest – auto nesting
- Tinkercad – simple 3D to 2D modeler
Need a custom layout template or sample run? Reach out via contact page.
FAQ: Laser design best practices
❓Can I cut JPG files directly?
No. JPGs are bitmap images and cannot be used for cutting—only engraving. Convert to vector using tracing tools in Illustrator or Inkscape.
❓What’s the best kerf to use?
Depends on material and thickness. For MDF: 0.15–0.2mm. For acrylic: 0.1–0.15mm. Always run a kerf test before batch production.
❓Should I outline or fill for laser paths?
Cutting needs strokes, not fills. Engraving needs fills, not strokes. Keep them on separate layers with clear color codes.
❓Can I engrave photos?
Yes—convert to grayscale, then apply dithering. Avoid overexposing light areas. Preview using laser software simulation.
❓What tools help with box or tab design?
Use Box Designer or MakerCase. These calculate tabs, kerf, and part alignment automatically.
Conclusion
Designing for laser cutting combines creativity and engineering. With the right tools and preparation, your designs become scalable, export-ready products.
Want your file reviewed before cutting?
Talk to Prime and get:
✅ Free file check
✅ Material advice
✅ Tolerance verification
✅ Sample quote in 24h
- ✉️ Email: [email protected]
- 🌐 Website: https://primecustomparts.com
- 🏭 Stamping & Fabrication: https://primecustomparts.com
From MDF structures to metal control panels, Prime delivers design-to-cut laser solutions that fit—every time.