What type of marker should be used on sheet metal?
Marking sheet metal is essential for precision in fabrication, whether you’re cutting, welding, or assembling. But what type of marker should you use on sheet metal to ensure clear, durable marks? Let’s explore the best options for marking metal surfaces effectively.
Snippet paragraph: Choosing the right marker for sheet metal is crucial for clear, accurate markings. Here’s a guide to the best types of markers for the job.
Transition paragraph: Whether you need permanent or temporary marks, let’s explore the markers that will ensure the best results for your metalworking projects.
What is used to mark sheet metal?
Marking sheet metal requires tools and materials that can make clear, visible marks without damaging the metal surface. There are several marking tools to choose from, each suited for specific tasks.
Snippet paragraph: Various tools, including scribes, pens, and chalk, can be used to mark sheet metal. Here’s what to use depending on your needs.
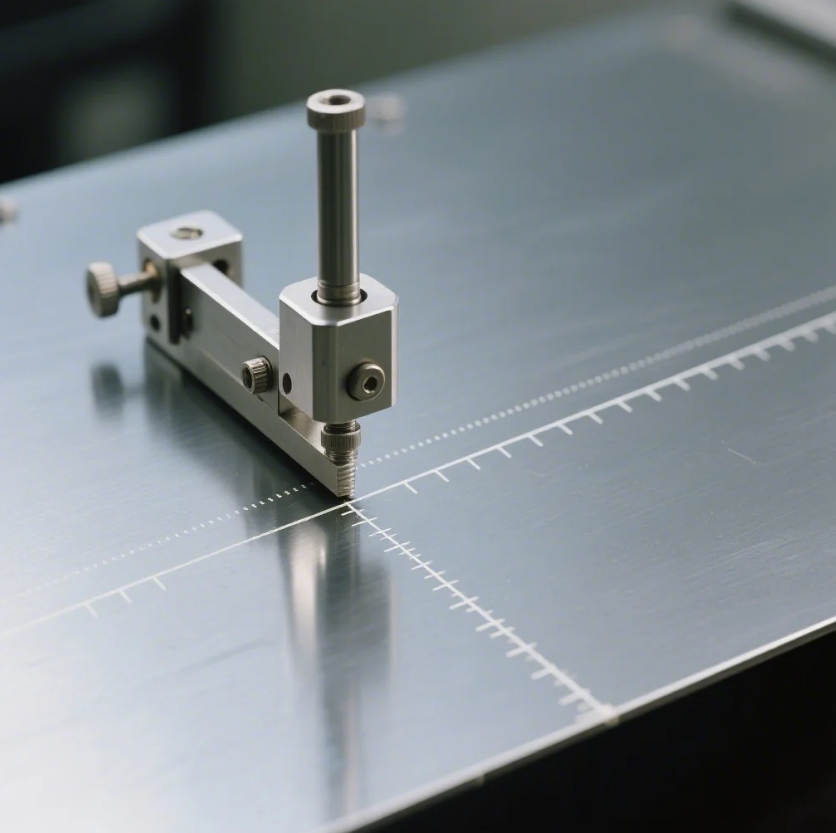
Scribe for Precision
A scribe is a tool that scratches the metal surface to create a fine, permanent line. This is perfect for precise markings, particularly on harder metals like stainless steel. It’s ideal when you need a fine, long-lasting mark that won’t fade during further fabrication.
Marking Pens
Marking pens designed for metal are one of the most common tools for marking sheet metal. These pens are filled with special ink that adheres to the metal, creating clear, visible lines that won’t easily rub off. They come in various colors, making them great for contrast on darker metals or when you need to highlight specific marks.
Chalk and Soapstone
For temporary markings, chalk or soapstone is often used. These materials are great for marking large areas or when you need to make marks that won’t be permanent. Soapstone is more durable than chalk and works well on rougher or thicker metals.
Center Punch
A center punch is used to mark the location where holes should be drilled. It creates a small indentation on the metal surface, which guides the drill bit to prevent it from slipping.
LOOP_END
What type of marker is to be used on sheet metal when marking out?
When marking out sheet metal for fabrication, it’s essential to choose a marker that can provide visible, lasting marks that withstand handling. Let’s review the best options for this task.
Snippet paragraph: When marking out sheet metal, choosing the right marker ensures that your lines are clear, precise, and easy to follow. Here’s how to choose the best one.
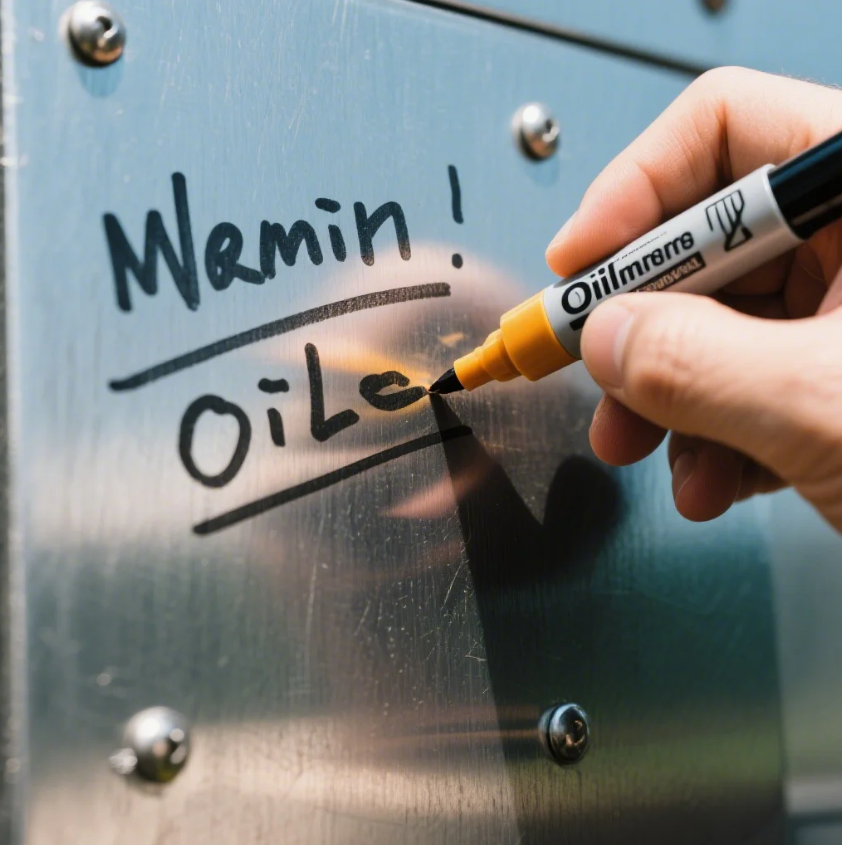
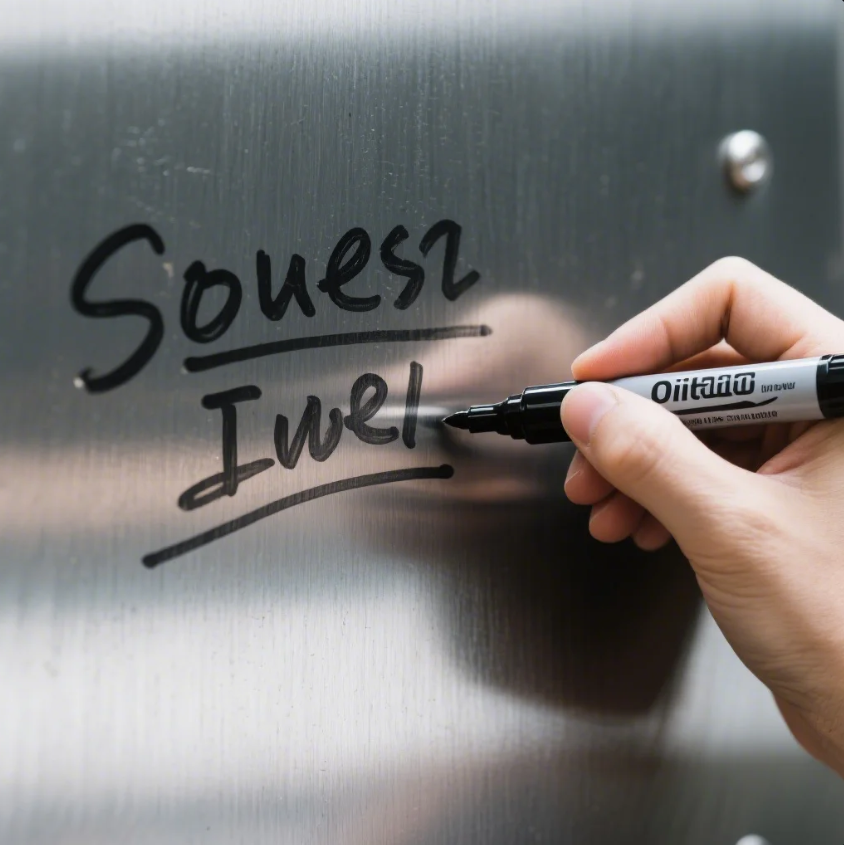
Oil-Based Marking Pens
Oil-based markers are highly effective for marking sheet metal. These markers are designed to work on a variety of surfaces, including metal. The ink is oil-based, making it more durable and resistant to smudging, even in harsh environments. Oil-based markers are ideal for creating permanent lines that will last throughout the fabrication process.
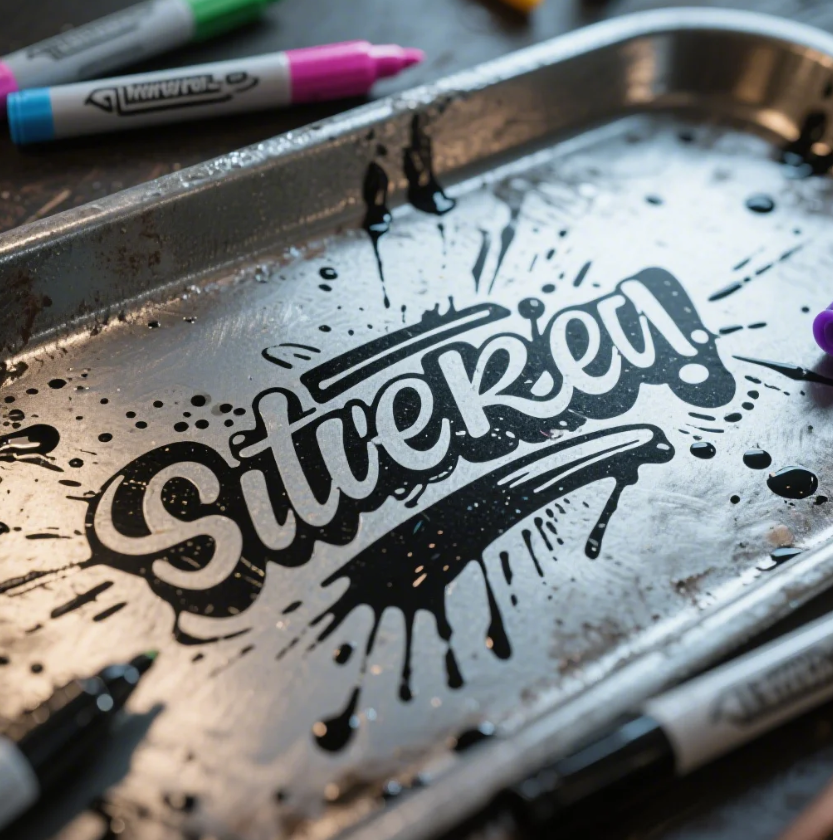
Paint Markers
Paint markers are a great choice for marking metal surfaces. These markers contain paint instead of ink, and they provide bold, visible marks that adhere well to metal. Paint markers are excellent for marking metal in a way that ensures the marks stay visible for a long time, even after handling or exposure to heat.
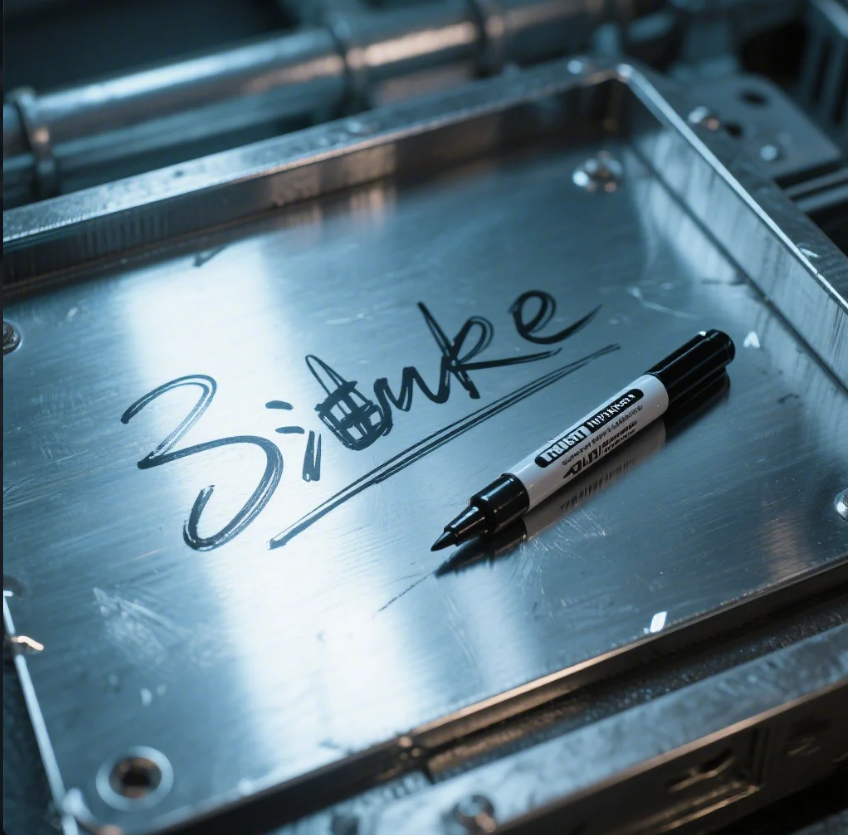
Permanent Markers
Permanent markers are another option for marking sheet metal. These markers are easy to use and provide long-lasting marks. However, they might not be as durable as paint markers or oil-based pens, so they are more suited for temporary markings during the initial stages of fabrication.
Chalk and Soapstone
For rougher, temporary marks, chalk or soapstone is used. These markers are perfect when you need visible lines for cutting or welding, but they can be easily removed once the task is complete.
LOOP_END
What is the best tool to mark metal?
The best tool to mark metal depends on the level of precision required, the type of metal, and whether the mark needs to be permanent or temporary. Here’s a rundown of the best tools for marking metal surfaces.
Snippet paragraph: From high-precision scribes to bold paint markers, here are the best tools for marking metal with accuracy and durability.
Scribe for Fine Lines
A scribe is the best tool for creating fine, permanent lines on metal. The sharp point of the scribe allows you to create delicate, precise markings on hard metal surfaces like steel. This tool is ideal for detailed fabrication work where accuracy is crucial.
Oil-Based Markers for Durability
Oil-based markers are the best choice when you need durable, clear, and visible marks. These markers are perfect for marking metal surfaces that will undergo further processing or handling. The oil-based ink adheres well to metal, providing lasting marks that won’t easily rub off.
Paint Markers for Bold Marks
Paint markers are ideal for marking bold lines on metal. The paint is thicker than ink, making it ideal for creating highly visible markings on metal parts that need to be visible for long periods. Paint markers are often used in industries like construction and automotive for marking large metal parts.
Chalk or Soapstone for Temporary Marks
For temporary marking needs, chalk or soapstone works well. These tools are great for larger projects or when you need a temporary mark that can be wiped off easily after the job is complete.
LOOP_END
How to use paint markers on metal?
Using paint markers on metal is simple, but it’s essential to ensure that the surface is prepared and the right marker is chosen for the job. Here’s how to use paint markers effectively on metal surfaces.
Snippet paragraph: Using paint markers on metal requires a few basic steps to ensure the marks are clear and durable. Here’s how to use them properly.
Step 1: Prepare the Surface
Before using a paint marker on metal, it’s important to clean the surface. Make sure there’s no dust, dirt, or oil on the metal, as these can affect how well the paint adheres. Wipe down the surface with a clean cloth or solvent to ensure it’s free from any contaminants.
Step 2: Shake the Marker
Shake the paint marker before use to mix the paint inside. This will ensure an even flow of paint when you start marking. Press the tip of the marker down on a scrap piece of metal to get the paint flowing before applying it to your workpiece.
Step 3: Apply the Marking
Once the paint flows properly, apply the marker to the metal surface. Use steady pressure and consistent strokes to create clean, bold lines. The paint will adhere well to metal and provide a visible, durable mark.
Step 4: Let the Paint Dry
Allow the paint to dry completely before handling the metal. This ensures that the mark stays intact and doesn’t smudge or rub off. Paint markers typically dry faster than traditional markers, but it’s still important to give it time to set.
Step 5: Clean the Marker After Use
After using the paint marker, clean the tip to prevent it from drying out. Follow the manufacturer’s instructions for proper cleaning to ensure that your marker lasts for multiple uses.
LOOP_END
Conclusion
Choosing the right marker for sheet metal is essential for accuracy and durability in your fabrication projects. Whether you’re using a scribe for fine lines or a paint marker for bold, long-lasting marks, selecting the appropriate tool will ensure the best results. For expert guidance and high-quality metal parts, contact Prime for all your metalworking needs.